


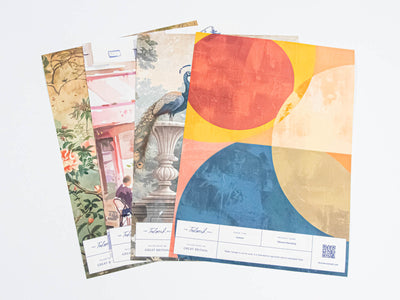
Accurate measurements are key to ensuring your bespoke wall covering fits perfectly. Follow these simple steps to measure your ceiling correctly, and always input the longest measurement as the height.
Step 1.
Preparation
Before you begin, clear the room of any furniture or obstacles that could affect your measurements. This will make the process smoother and ensure your measurements are accurate.

Step 2.
Measuring your ceiling
Use a tape measure to record the longest and shortest sides of your ceiling. Measure from one end of the room to the other, taking note of the dimensions.
We add an extra free 10 cm / 3.9 inches to both the width and height to account for bleed/excess design. This ensures an easier installation and perfect alignment and is simply trimmed off at installation.
Important note:
For the best results, always input the longest measurement as the height when ordering. This ensures that the wall covering drops will be printed according to the height measurement, aligning the pattern correctly and will give the least number of joins.
Example:
If your ceiling measures 400 cm on the longest side and 250 cm on the shorter side, enter 400 cm as the height. If reversed, the pattern would align incorrectly along the shorter side, disrupting the intended design flow with more joins in the finished mural.

Need Help?
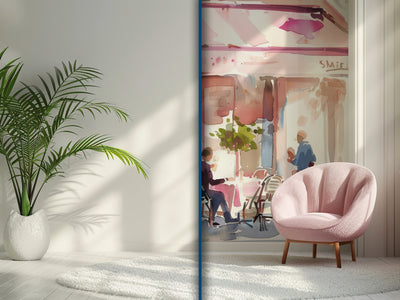
If you're unsure about your measurements or need guidance, our studio team is here to assist you. You can also send us images of your space, and we’ll create a visual of your custom wall covering in place to help you visualise the final look.
Entering the correct measurements ensures your wall covering will be seamless and professionally installed, enhancing your space beautifully. Reach out to us if you have any questions or need further support!