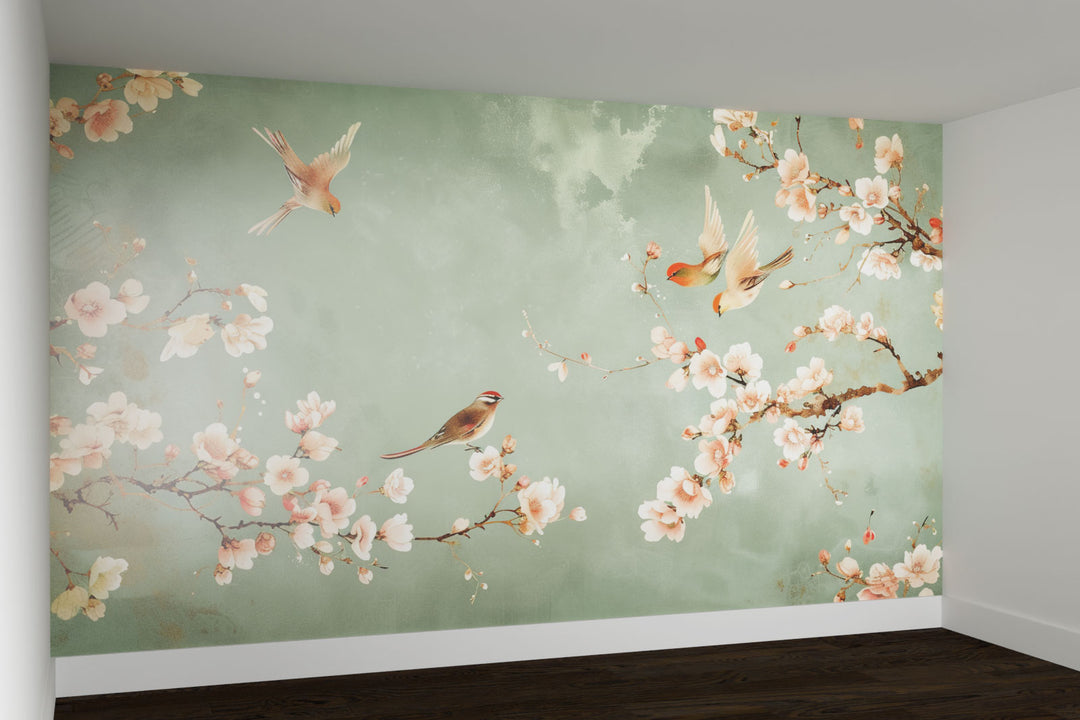
How to hang a wall mural
How to hang a wall mural

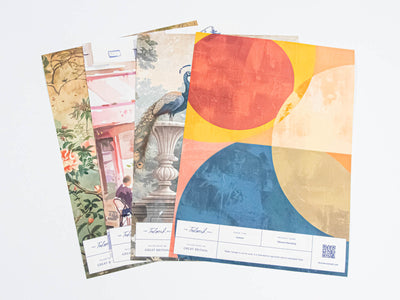
Included in your bespoke mural are some instructions to help you familiarise yourself with the product and advice on how to install. Please take 5 minutes to read them
Ensure your wall is smooth, clean, dry, and stable. Remove any flaking paint, old wallpaper, or debris, and fill in any uneven spots. Highly absorbent surfaces, like fresh plaster, should be sized.

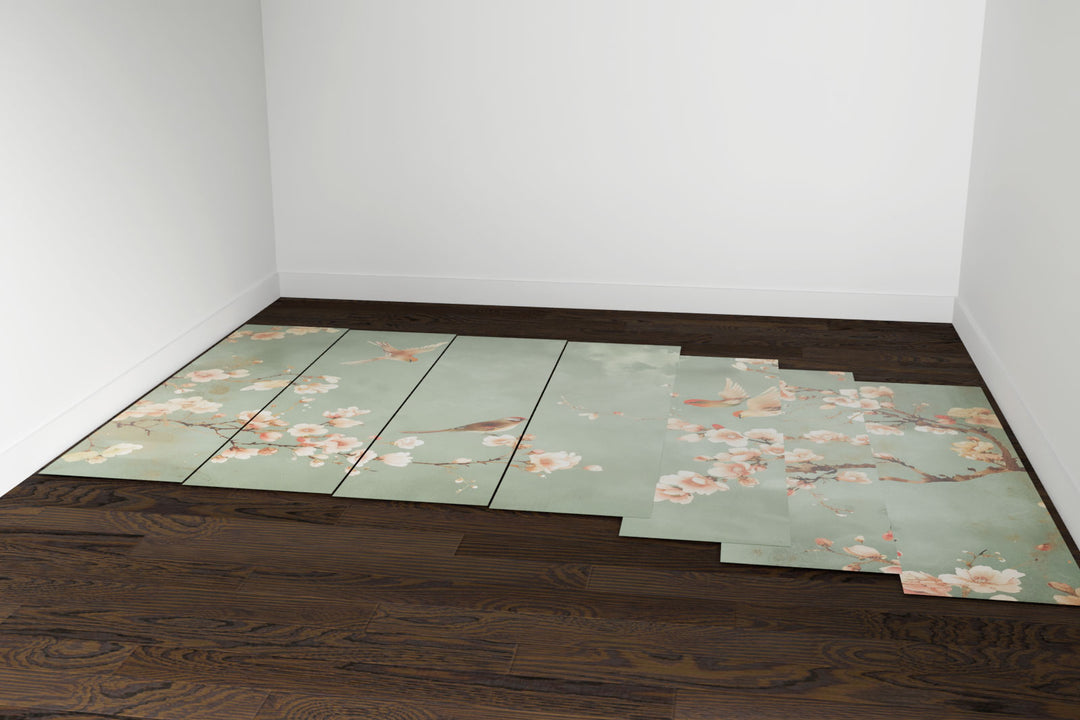
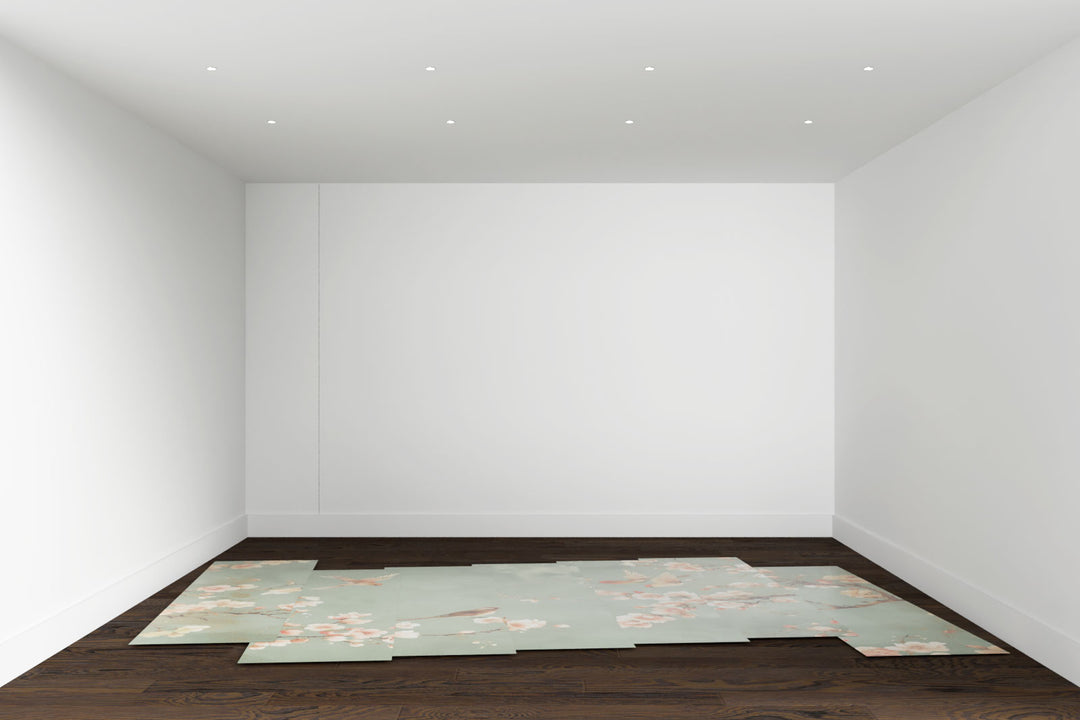
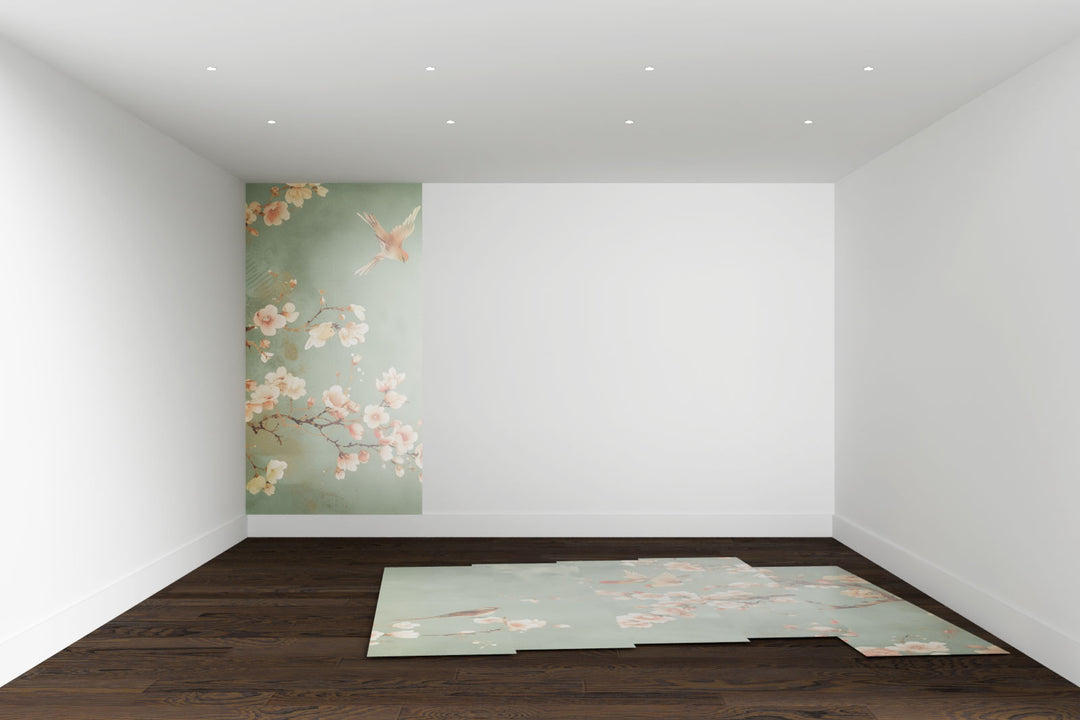
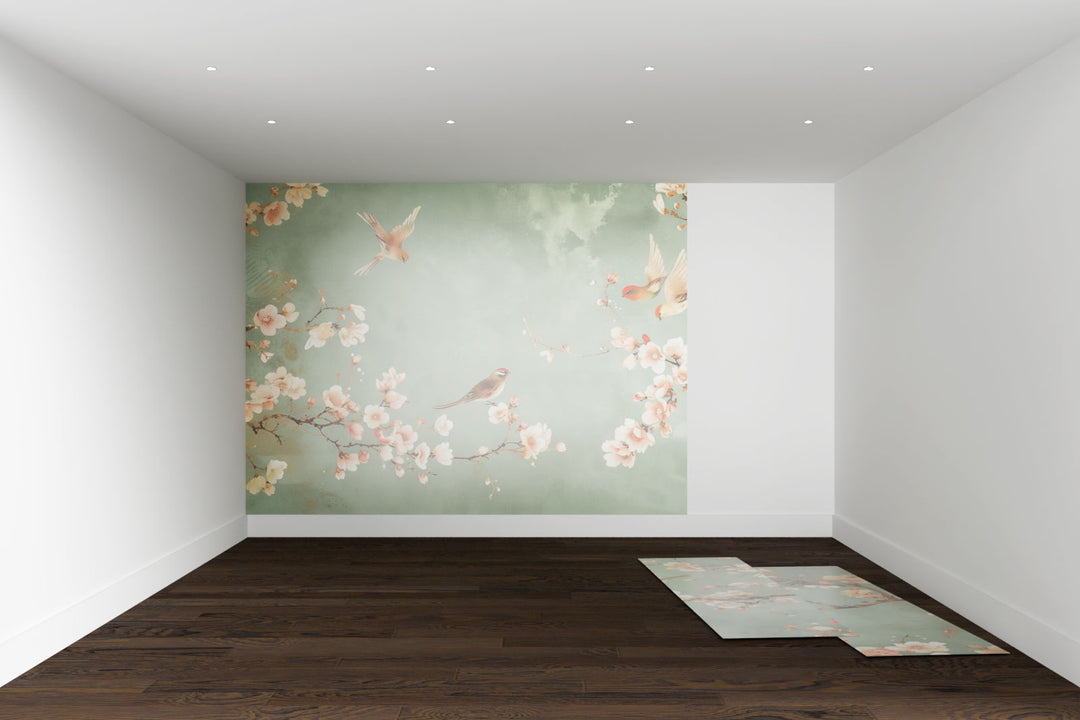
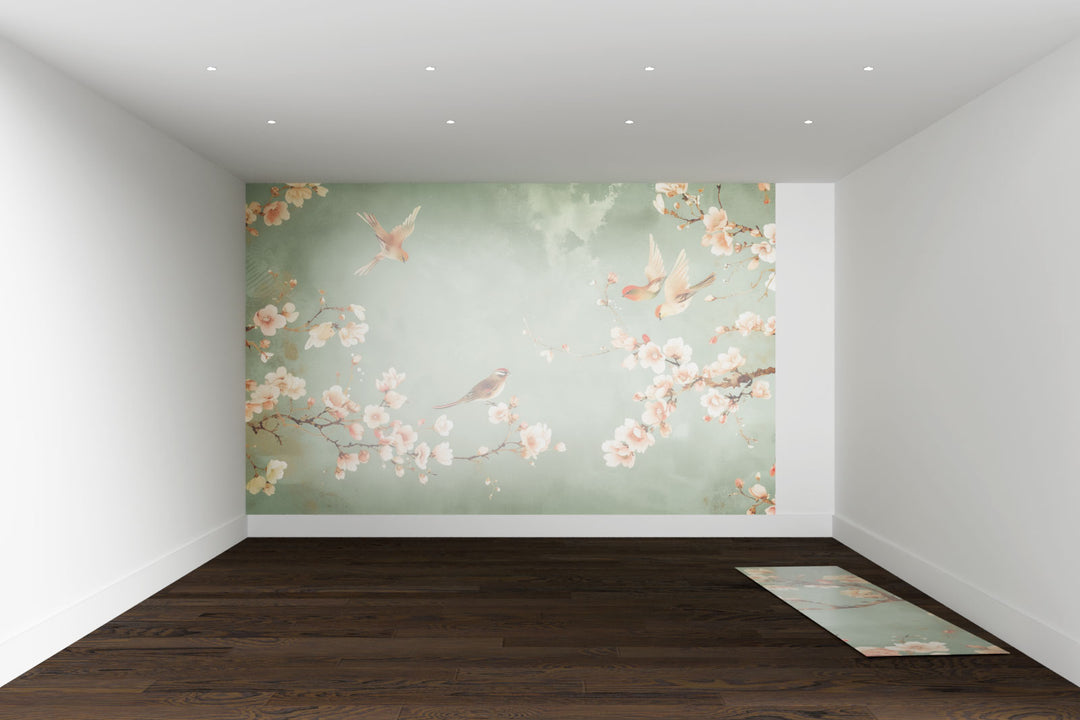
Lay your mural into the individual strips, following the numbered order on the floor from left to right to ensure the design flows correctly.
Decide which side of the wall you want to start from. If starting from the left, begin with the first strip (1, 2, 3, 4...). If starting from the right, begin with the last strip and work backward (4, 3, 2, 1…).
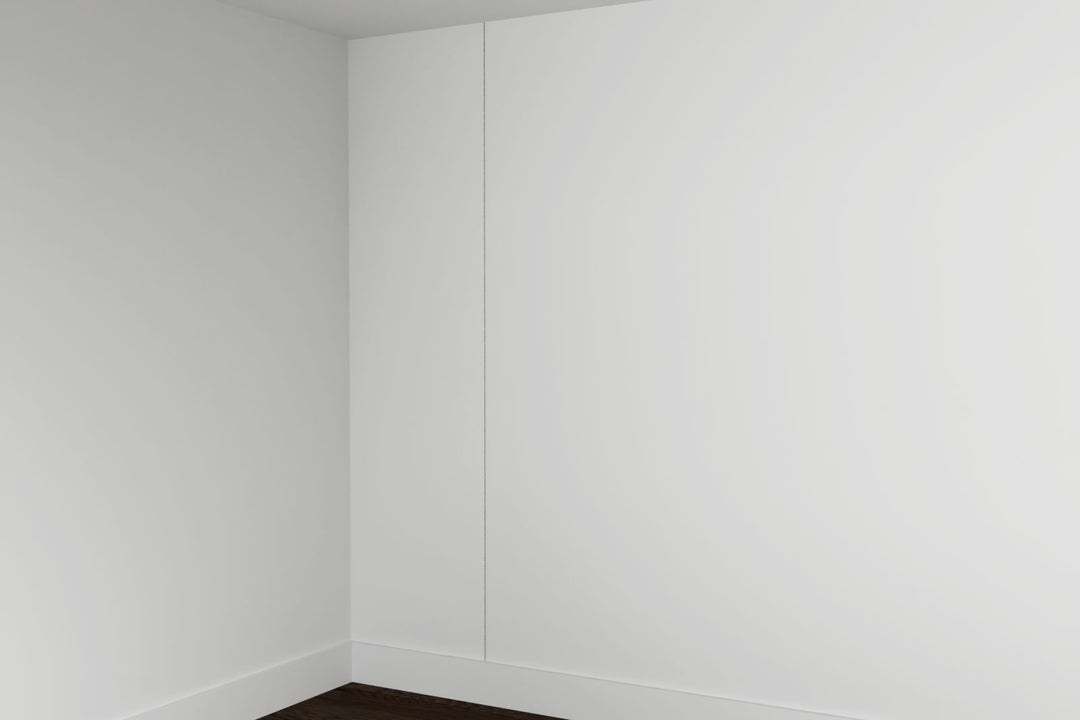
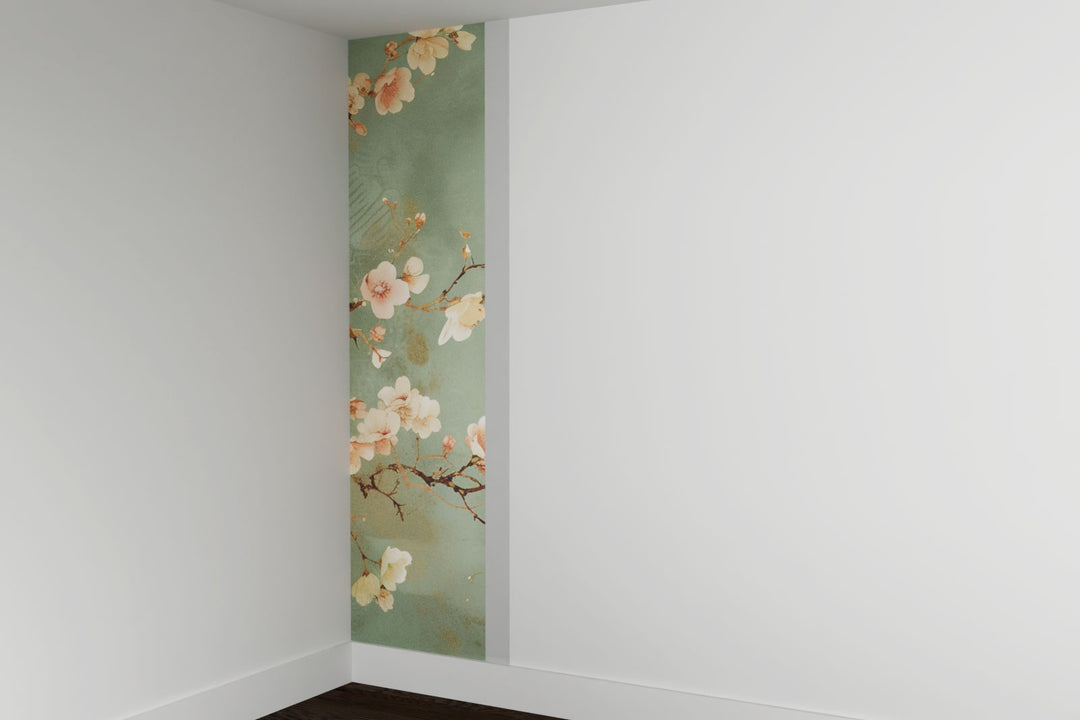
Measure one roll width (60 cm) from your starting edge and mark it lightly with a pencil. Move back 4-5 cm (2 inches) from this point and mark a new "drop mark" at the top of the wall. Use a plumb line or laser level to draw a perfectly vertical line down from this mark. This line ensures a straight edge to start your first strip, even if the wall isn’t perfectly square.
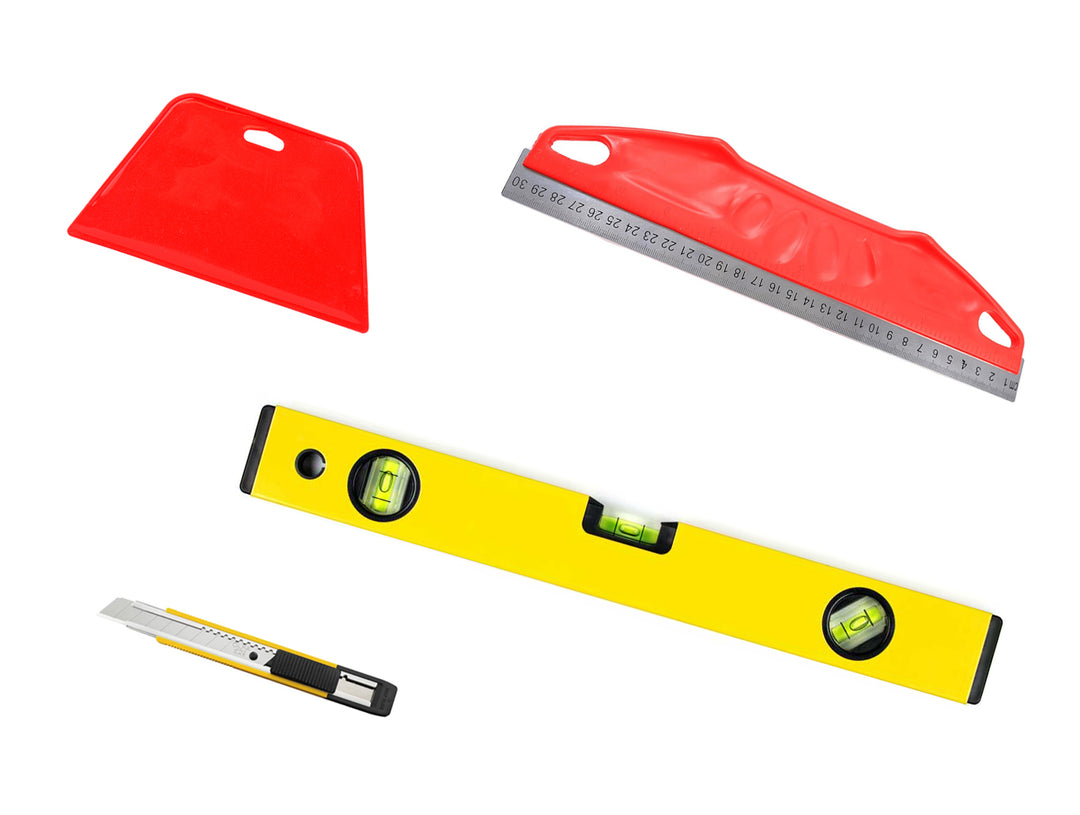
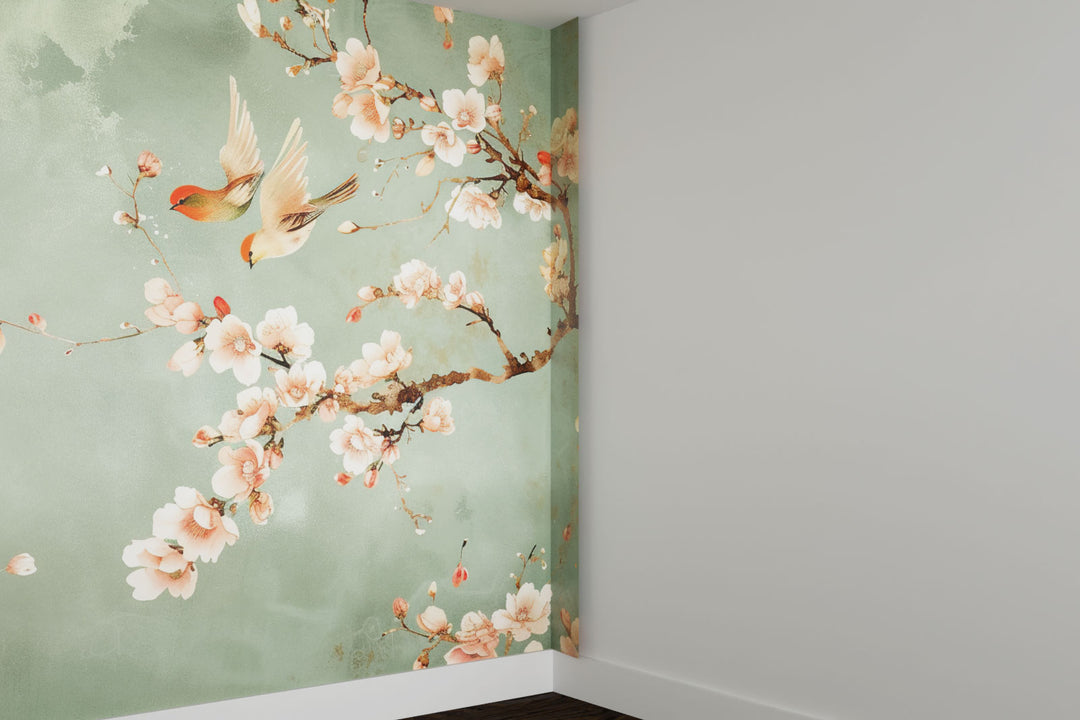
Using a roller, apply paste directly onto the wall, covering an area slightly wider than your first strip. Carefully align the first strip with your vertical pencil line and smooth it into place, working it gently into the corner. Trim any excess with a sharp scalpel or knife.
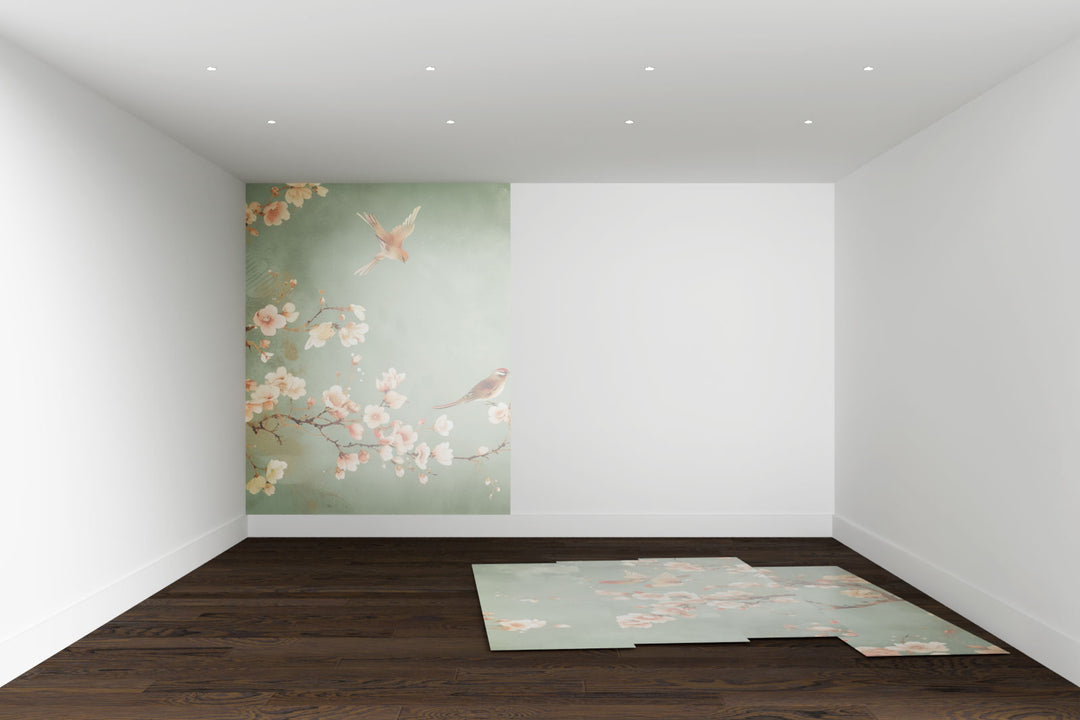
Apply paste for the next strip, aligning it edge to edge with the previous one without overlapping. Use a wall paper smoothing tool to smooth on to the wall. Adjust to match the pattern perfectly.
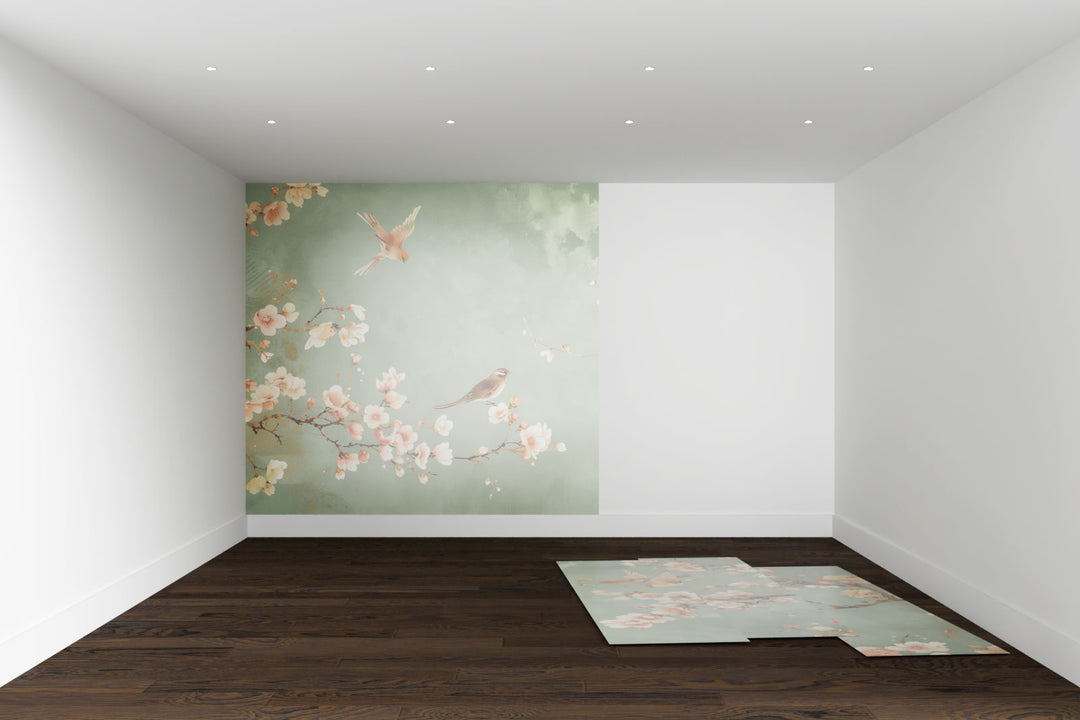
Continue hanging each strip, aligning patterns and smoothing as you go. Use a damp sponge to wipe away any excess paste along the seam. Once all strips are in place, trim any excess using a straight edge and a very sharp knife or scalpel so that the cut doesn't drag on the paper. Make sure your cuts are clean and precise.
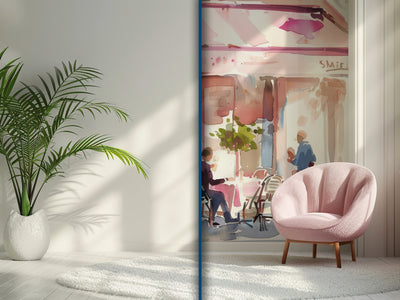
If you have any questions or would like a visual of your custom mural in your space, send us photos of your room, and our team will be happy to assist. Enjoy your new space!